Are you like me and quit putting diaper covers on your baby when she can walk? Do you have tubs full of covers that are never used? I do, so I though I should put them to use....and this is what I came up with.
A coordinated outfit with accessories! Let me show you how

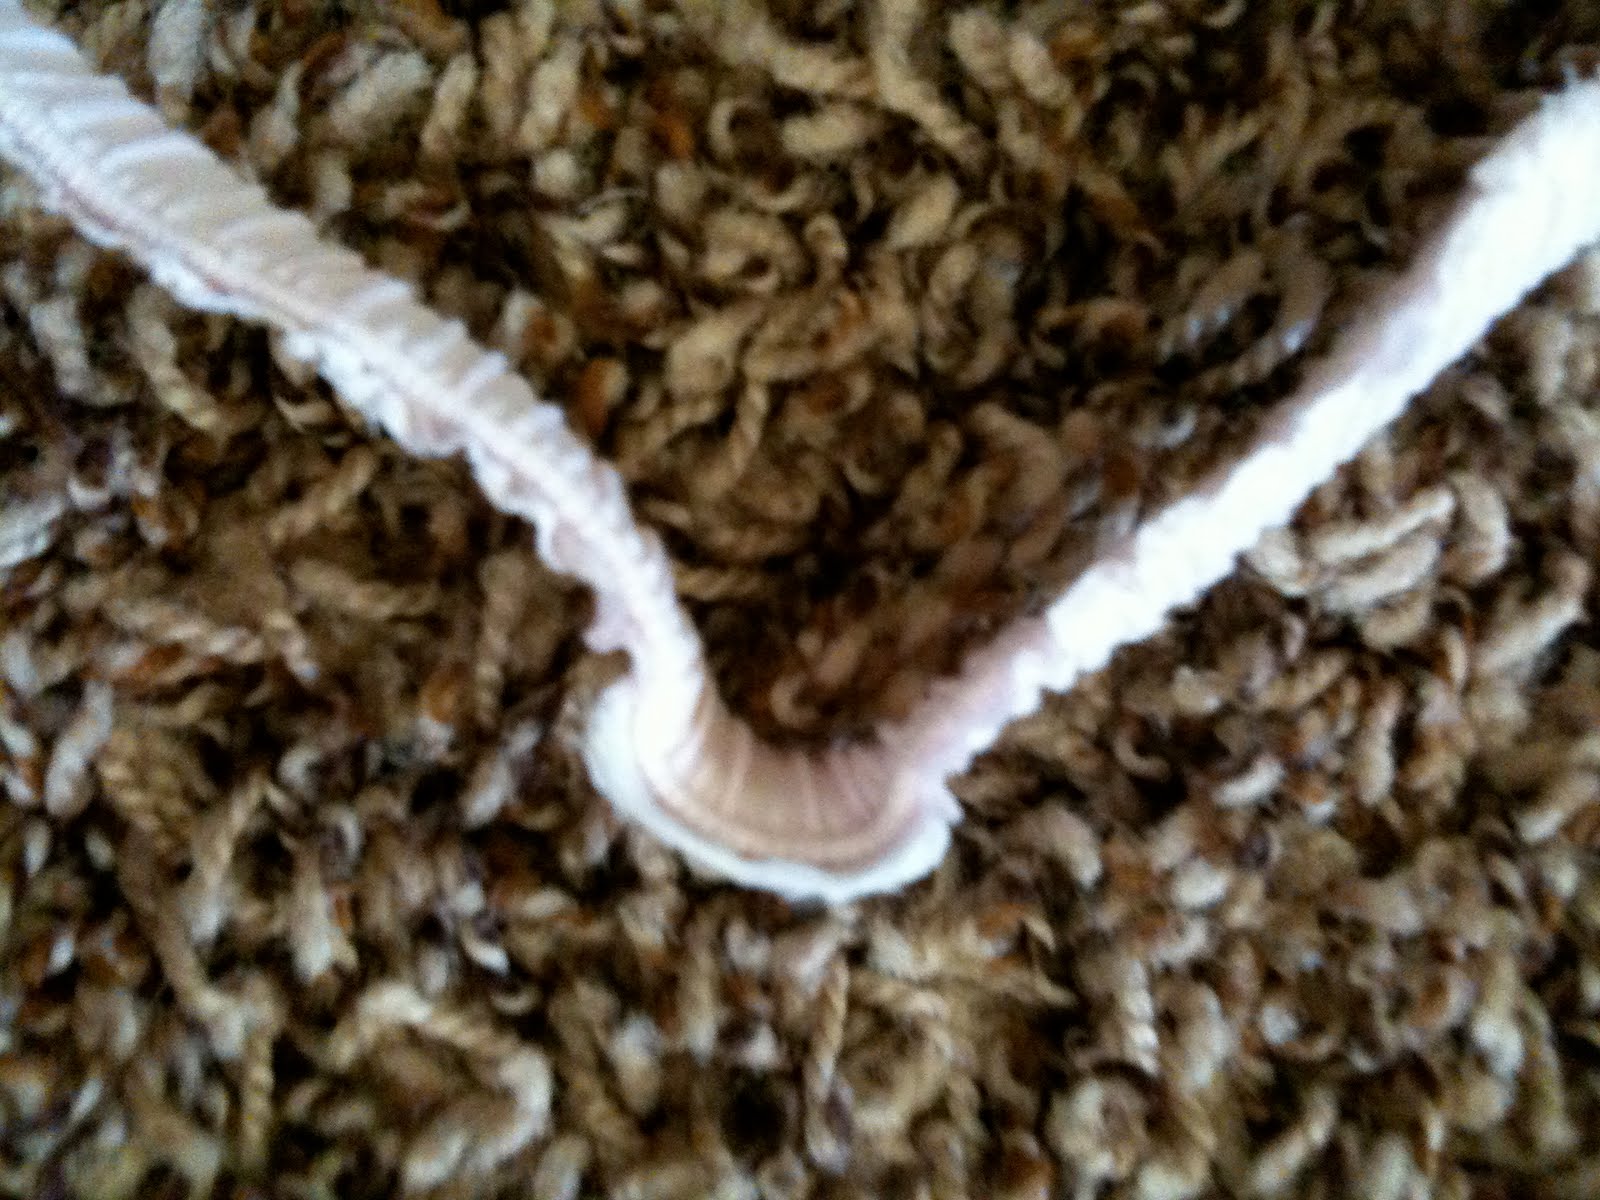
First take your diaper cover, and find one of the side seams. Starting at the leg hole amd cut along the seam, but STOP before you reach the wait band.


Next cut along the waist band until it is separate from the rest of the cover.

You should have a waistband in tact and a cover cut along a side seam.

Set aside the waist band for later. Take your cover and cut a strip, starting at the open end of the leg seam. Cut half of the width you have left. And do it again with the other half.

Now you should have two strips, a waistband and a shrinking diaper cover.

Tie a knot at the end of each strip. Continue to make a rolled rose by twisting rolling and gluing.

When you get to the seam, cut off the excess and discreetly twist to hide that there ever was a seam like so


When you get to the end save enough of the tail to glue to back. Trim up and you have 1 rose done. Now do it again!
If you want to add color to one or both roses..now is the time. I had some aqua scraps and added it around one rose to have a large and a small rose. And also to add a splash of color. If you do this just make sure the color coordinates with the skirt or dress your making these to match :)
You should have two roses now. And you have options...
Option 1: Mount them on clips and have two. One for each girl (if applicable) or for pig tails :)
Option 2: Make a headband. Get your waist band that you've held on to. If it's the right kind of fabric that doesn't fray (or if you don't mind the fray) you now have a headband! Trim up the edges so it looks nice and neat.
Take one of the roses and glue it on the headband. I recommend gluing it over the section that had the tag.. you can see it here:
You'll want to cover that up. You can add any embellishments you want..tulle, feathers, lace, ribbon, felt leaves, pearls..dress it up to match your taste.

Secure the rose on with a backing of felt. You can use both roses or only one. I have two girls and I like them to match so I normally would add 1 rose and make a clip with the other. But this time I put both roses on. And viola, your headband is done!

At this point all you should have left to use are scraps.
(please forgive my change of fabric...)
I used the scraps to make an appliqué. I found a shape I wanted to use. (this cute bird was on one of my old cardigans. ) pin it down and cut out the shape. (if you want to use an iron-on backimg, it will be much easier to cut your shape. But I didn't)

You have your applique now. Add a cute button and sew it on a shirt or onsie for a coordinated outfit.

Put it all together and you have one stinkin' cute outfit. (even she thinks so!)
If you have extras, make what you can! This cover was LARGE. And I had lots of scraps to work with.


One last twist...
If you don't need a shirt because your cover came from a dress, make a shirt for sister. You do have two roses for clips... I took my little girl's dress which had a cute apple on it. Roughly traced the shape and cut it out.

pinned it to the scraps and cut out my applique.

Now they have matching outfits, with matching clips and I didn't have to buy anything.
The possibilities are endless...you might find your self with a table full of these beauties.

(you can also try poppies with synthetic fabrics, but I didn't map it out to see what you could get from it. If you try it would you let me know? I'd love to see any and all creations from this idea...email me at aymeeray@gmail.com thanks)
One last thing. If you love this idea but are still questioning if you want to cut up her diaper cover...remember you can always use onsies to cover her up, or cute leggings, or all those extra covers in plain colors you have lying around..I know you have them 'cause I do!


 Next cut along the waist band until it is separate from the rest of the cover.
 You should have a waistband in tact and a cover cut along a side seam.
 Set aside the waist band for later. Take your cover and cut a strip, starting at the open end of the leg seam. Cut half of the width you have left. And do it again with the other half.
 Now you should have two strips, a waistband and a shrinking diaper cover.
 Tie a knot at the end of each strip. Continue to make a rolled rose by twisting rolling and gluing.
 When you get to the seam, cut off the excess and discreetly twist to hide that there ever was a seam like so
 When you get to the end save enough of the tail to glue to back. Trim up and you have 1 rose done. Now do it again!


 Secure the rose on with a backing of felt. You can use both roses or only one. I have two girls and I like them to match so I normally would add 1 rose and make a clip with the other. But this time I put both roses on. And viola, your headband is done!
 At this point all you should have left to use are scraps.
 You have your applique now. Add a cute button and sew it on a shirt or onsie for a coordinated outfit.


 One last twist...
 pinned it to the scraps and cut out my applique.
 Now they have matching outfits, with matching clips and I didn't have to buy anything.

 (you can also try poppies with synthetic fabrics, but I didn't map it out to see what you could get from it. If you try it would you let me know? I'd love to see any and all creations from this idea...email me at aymeeray@gmail.com thanks)


