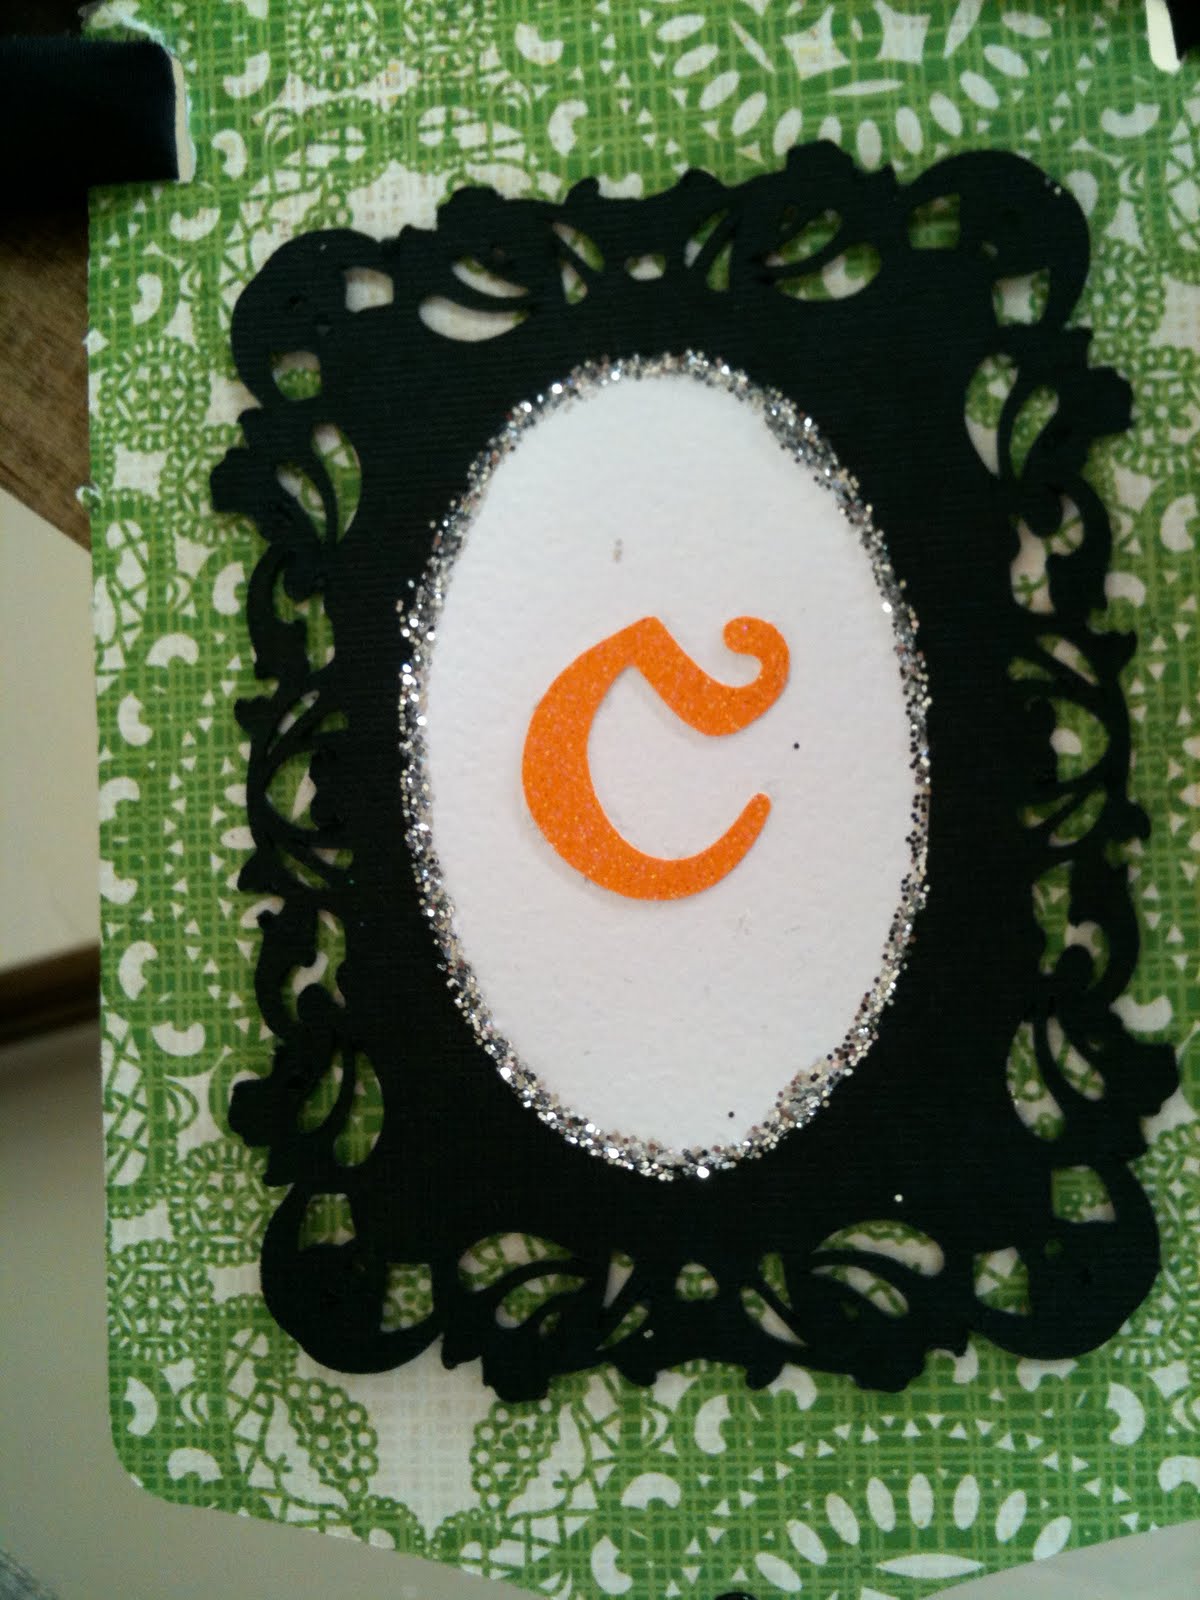
I FINALLY finished. I made my older daughter, Aubree, this cute bag for trick or treating (with the never ending patience and teachings of my cute Aunt...) and I knew I wanted to make one for her little sister, when she was able to use it. I bought enough paper ahead of time. A few months ago, I realized that my younger daughter, Sophie, would in fact be actively participating in Halloween this year. So I had to make her bag too.
And they turned out SO cute.

A spider for Aubs.

A witch for Soph. ( I think I need to move "p" down. It's driving me crazy!)

The edges are all sewn together with boondoggle. And I love the detail.

I made they're bags matching, in opposites.

With coordinating paper on the sides. They love them and use them a lot more than just for Halloween. Now I need to make them more themes so I can change out the papers and get more use out of it.

I'm thinking of using it for
Valentines Day
Easter
And a non holiday theme for church and the library...
 It was actually really easy. All I did was iron on some heat and bond on the back of a scrap of suede cloth. On the paper backing of the heat and bond I drew a spider web. I used a separate piece for the string and spider. I cut out all the negative pieces and viola, I have an applique. I ironed it on the shirt where I thought it looked best, and topstitched it down. I love how the web turned out. As I was cutting, I noticed that the lines were far from perfect. But I love how it adds spookiness to the look.